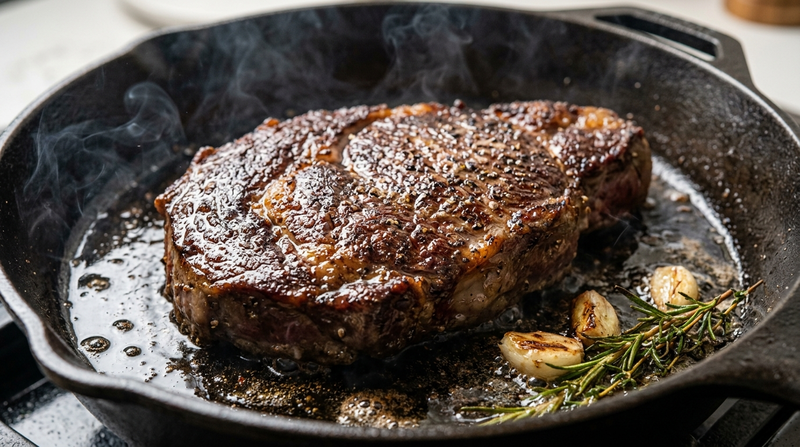
Most disappointing pan-cooked meat has one of two problems. It either welds itself to the pan and tears when you try to flip it, or it turns a pale gray and sits in a puddle of its own juices. Both come down to the same few variables: how dry the surface is, how hot the pan is, and how crowded it is.
What searing actually does
When the surface of meat gets hot enough, proteins and sugars react to form hundreds of new flavor compounds and a brown crust. Cooks call this the Maillard reaction. It only happens well at high surface temperatures and when there is little water on the meat. Water has to evaporate before browning can begin, and if there is too much of it, the surface never gets past the boiling point of water. That is why wet meat steams instead of sears.
Step one: get the surface dry
Take meat out of the packaging and pat every side firmly with paper towels. If you have time, salt it and leave it uncovered on a plate in the fridge for an hour or up to overnight. The salt pulls moisture out and then draws it back in, and the air dries the surface. Even 15 minutes on the counter after salting helps compared to going straight from the package to the pan.
Avoid wet marinades right before searing. If you want to marinate, pat the meat dry afterward, or put the sauce on after cooking.
Step two: use the right pan and enough heat
Heavy pans hold heat. Cast iron and thick stainless steel are the best choices, because adding cold meat does not drop their temperature as much. Thin nonstick pans struggle to build a good crust and are not meant to be heated very hot.
Heat the dry pan over medium-high for two to three minutes, then add a thin layer of oil with a high smoke point, such as canola, grapeseed or refined avocado oil. The oil should shimmer and move easily. If it is smoking heavily, pull the pan off the heat for a moment. Butter is wonderful for flavor, but it burns at searing temperatures, so add it near the end for basting instead.
Step three: do not crowd the pan
Every piece of meat releases moisture as it cooks. If the pieces are packed together, that steam has nowhere to go and the pan temperature falls. Leave a little space around each piece, and cook in batches if you need to. For cubes of beef or chicken, a single layer with room between pieces is the goal.
Step four: leave it alone
This is the part people struggle with. Place the meat in the pan, and do not move it. A properly seared piece releases itself from the pan when the crust has formed. Try gently lifting a corner after two to three minutes. If it resists, give it another 30 seconds. If it lifts freely and the underside is deep brown, flip it.
That is the real answer to sticking: meat sticks because it is not ready to turn yet, not always because the pan is wrong.
Timing and doneness
Searing builds flavor on the outside but does not cook the inside through, so check the internal temperature with a thermometer. The U.S. Department of Agriculture recommends these minimums:
- Poultry: 165°F (74°C)
- Ground meats: 160°F (71°C)
- Whole cuts of beef, pork, lamb and veal: 145°F (63°C), followed by a three-minute rest
Thick cuts such as steaks or bone-in chicken can be seared first and finished in a 375°F oven so the outside does not burn before the middle is done.
Rest the meat, then use the pan
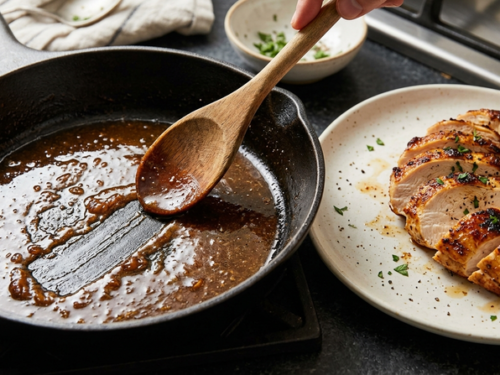
Let meat rest for five to ten minutes on a plate so the juices settle. Do not wash that pan yet. The brown bits stuck to the bottom are concentrated flavor, and you can turn them into a sauce in minutes. We walk through that in our guide to making a pan sauce in five minutes.
A quick troubleshooting list
- Gray and watery: wet surface, crowded pan or pan not hot enough.
- Burnt outside, raw inside: heat too high for the thickness. Sear, then finish in the oven or lower the heat.
- Sticks and tears: flipped too early, or pan not preheated before the oil went in.
- Smoky kitchen: oil with a low smoke point, or heat higher than you need. Turn on the vent and try canola or grapeseed.