
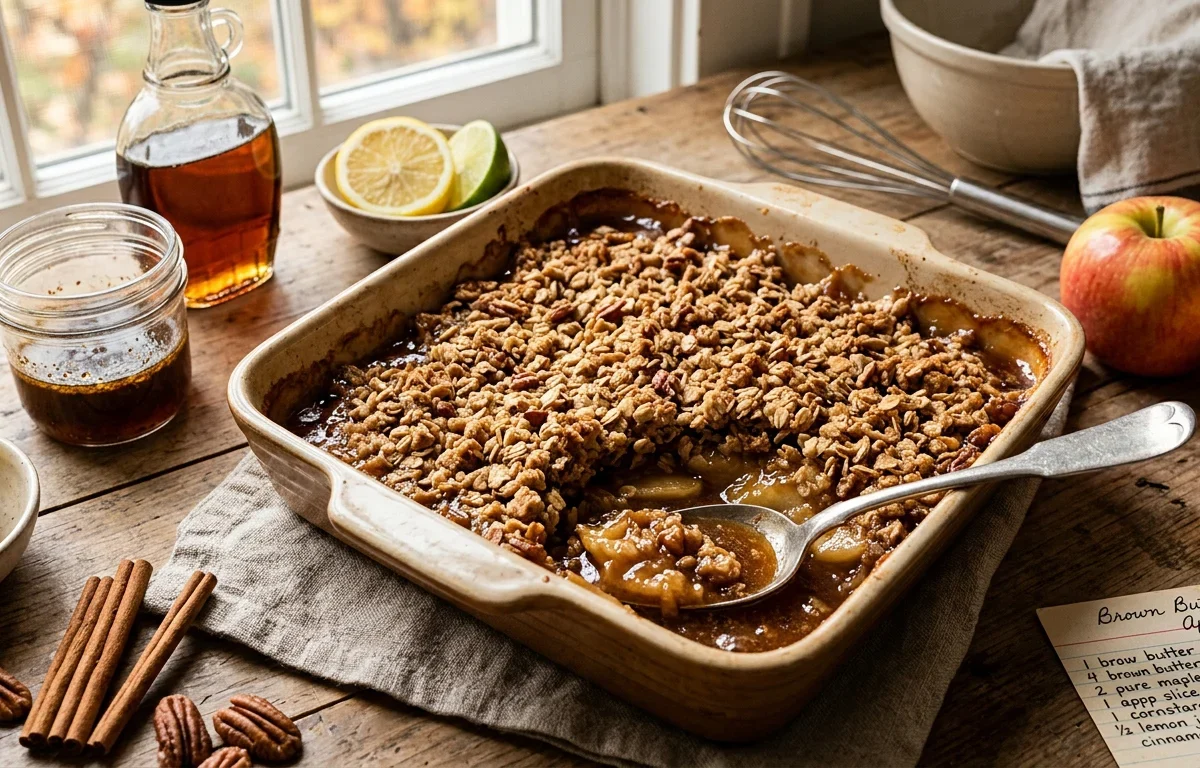
As the air turns crisp, there is nothing more comforting than the aroma of baked apples and cinnamon filling the kitchen. This brown butter maple apple crisp is designed to give you maximum cozy flavor with minimal effort. By browning the butter and using pure maple syrup, we build a deep, caramel-like background that makes simple apples taste extraordinary.
Why You'll Love This Recipe
- Nutty brown butter: Browning the butter first toasts the milk solids, giving the oat topping an incredibly rich, caramelized flavor.
- Pure maple syrup sweetness: Instead of white sugar, we use real maple syrup to keep the apple filling saucy, warm, and naturally fragrant.
- Perfect texture contrast: Tender, jammy apples sit beneath a genuinely crispy, toasted oat-and-pecan crumble that stays crunchy.
- No fancy equipment needed: You only need two bowls, a saucepan, and a baking dish—no mixer or pastry cutters required.
Ingredients You'll Need (and Why)
Honeycrisp apples: These hold their shape beautifully during baking without turning mushy, while offering a perfect balance of tart and sweet.
Cornstarch: This is our thickening hero; it binds with the escaping apple juices as they heat up, creating a glossy, rich sauce instead of a watery puddle.
Lemon juice: The acidity balances the sweetness of the maple syrup and prevents the apples from oxidizing and turning brown as you prep.
Unsalted butter: Browning the butter toasts the milk solids, creating a nutty aroma that elevates the oat topping far beyond regular melted butter.
Old-fashioned rolled oats: These provide a hearty, chewy texture that doesn't get soggy under the moisture of the baking apples, unlike quick oats.
How to Make It
Prepare the Apple Base
We start by prepping the apples. Slicing them to a consistent 1/4-inch thickness prevents some pieces from becoming mush while others remain crunchy. Tossing them in cornstarch and lemon juice is a critical step; the starch captures the water released by the apples as they bake, transforming it into a luxurious, spiced syrup right in the pan.
Brown the Butter
The secret to this topping is browning the butter. When you heat butter, the water content evaporates, allowing the milk solids to toast at the bottom of the pan. Watch it closely once the foaming subsides—it shifts from golden to burnt quickly. That warm, nutty liquid fat infuses the oats and flour with a caramel depth that raw butter simply cannot match.
Assemble and Bake
Once your topping is stirred together into a clumpy dough, gently distribute it over the apples. Resist the urge to pack it down; keeping it loose allows the hot oven air to circulate through the crumbs, making them exceptionally crisp. We bake until the fruit juices bubble at the sides, proving the starch has reached its thickening temperature.
Success Tips
- Don't rush the butter-browning: Keep your eyes on the pan. The transition from perfectly browned to bitter and burnt takes only a few seconds. If you see dark black specks instead of amber-brown ones, discard it and start over.
- Check the bubbling cue: Do not pull the crisp out early. The cornstarch in the filling requires the mixture to reach a full boil (bubbly at the edges) to activate its thickening power. If it's not bubbling, the sauce will be thin.
- Let it rest: Serving the crisp piping hot straight from the oven means the sauce will run everywhere. Letting it sit for 15 minutes lets the pectin and starch set, creating a neat, saucy scoop.
Variations
- Gluten-Free Alternative: Swap the all-purpose flour in the topping for a 1:1 gluten-free baking flour blend, and ensure your rolled oats are certified gluten-free.
- Nut-Free Option: If you have a nut allergy, omit the pecans entirely and replace them with an equal amount of pumpkin seeds (pepitas) or simply add an extra 1/4 cup of rolled oats.
- Pear and Apple Combo: Substitute half of the apples with firm baking pears, like Bosc, for a lovely winter-leaning flavor profile.
Storage & Make-Ahead
Room temperature: Store covered at room temperature for up to 24 hours.
Fridge: Keep in an airtight container in the refrigerator for up to 4 days. Reheat in a 350°F oven for 10 minutes to restore the topping's crunch.
Freezer: Freeze the baked and completely cooled crisp in an airtight, freezer-safe container for up to 3 months. Thaw overnight in the fridge and bake at 350°F for 15-20 minutes until warmed through.
FAQ
Can I make this apple crisp ahead of time?
Yes! You can assemble the apple filling and the topping separately up to 24 hours in advance. Store the apples and topping in separate containers in the fridge, assemble just before baking, and add 5 minutes to the baking time.
What are the best apples for baking?
We love Honeycrisp, Granny Smith, or Braeburn. They strike the perfect balance between sweet and tart, and they have a dense flesh that doesn't break down into applesauce when baked.
Why is my apple crisp topping soggy?
This usually happens if you cover the crisp while it is still warm, trapping steam. Let the crisp cool completely uncovered before storing, and reheat it in the oven rather than the microwave to crisp it back up.