
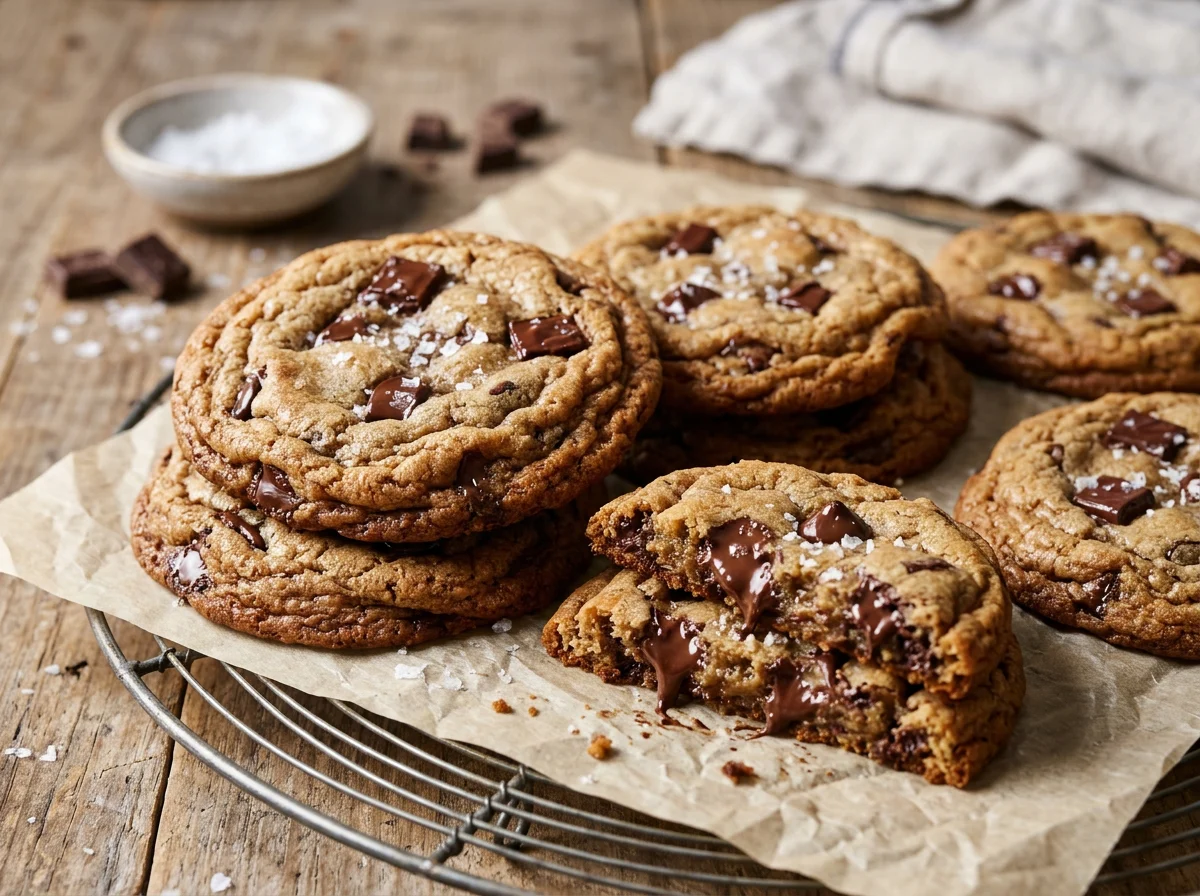
If you have ever wanted to take a classic chocolate chip cookie and give it an incredible, gourmet upgrade without adding complicated steps, browning your butter is the secret. This simple technique transforms standard baking butter into a rich, nutty flavor base that makes every bite taste like it came from a high-end bakery. Don't worry if you've never browned butter before—it's a quick, straightforward process that pays off massively in flavor.
Why You'll Love This Recipe
- Nutty, toasty depth from the browned butter that elevates standard cookie flavor.
- A perfect textural contrast of crisp outer edges and soft, tender centers.
- Includes an extra egg yolk to guarantee a rich, chewy crumb structure.
- A quick 30-minute chill time that prevents the cookies from spreading too thin.
- Finished with a pinch of flaky sea salt to balance the rich sweetness of the chocolate.
Ingredients You'll Need (and Why)
Unsalted butter: Melting and toasting the butter drives off its water content and caramelizes the milk solids, creating a nutty, complex flavor foundation.
Brown sugar: Contains molasses, which adds crucial moisture to the dough for a chewy texture and lends a subtle caramel undertone.
Extra egg yolk: Provides extra fat and moisture without adding excess liquid, resulting in a richer, denser, and far chewier center.
Baking soda: Acts as the leavening agent that reacts with the brown sugar's acidity, helping the cookies spread slightly and brown nicely on top.
Flaky sea salt: Provides a sharp, clean contrast that cuts through the rich sweetness of the chocolate and sugar.
How to Make It
Transforming the Butter
The magic of this recipe begins at the stove. By melting butter and keeping it on the heat until the water evaporates, the milk solids toast to a deep amber color. Watch it closely during the foaming and crackling stages so it doesn't burn, and transfer it to a bowl as soon as those aromatic brown specks appear.
Building the Dough
Whisking the sugars directly into the warm brown butter helps dissolve them slightly, which creates a glossy, shiny surface on your baked cookies. Folding in the flour gently at the end ensures you don't overwork the gluten, keeping the texture tender rather than tough.
Baking and Finishing
Chilling the dough briefly firms up the melted butter so your cookies keep their shape in the oven instead of turning into one giant baking sheet pancake. Pull them out while the centers still look slightly soft—they will finish setting as they rest on the warm pan.
Success Tips
- Listen for the audio cues when browning butter: the loud crackling sound means water is boiling off, and silence means it is nearly done.
- Let the brown butter cool for about 10 minutes before adding the eggs so you don't accidentally scramble them.
- Do not skip the 30-minute chill time; warm dough will spread too fast and yield flat, greasy cookies.
- Pull the cookies out of the oven when the edges are set and golden, even if the center looks a bit too soft. They firm up as they cool.
Variations
- Substitute dark chocolate chunks for semi-sweet chocolate chips if you prefer a deeper, less sweet chocolate profile.
Storage & Make-Ahead
Room temperature: Store baked cookies in an airtight container at room temperature for up to 4 days.
Fridge: Cookie dough can be stored in the refrigerator for up to 2 days before baking.
Freezer: Baked cookies or unbaked dough scoops can be frozen for up to 2 months. Freeze unbaked dough balls on a sheet pan before transferring them to a bag.
FAQ
Why do I need to brown the butter?
Browning butter removes its water content and toasts the milk solids, creating a rich, nutty, and complex flavor that standard melted or creamed butter simply cannot match.
Can I skip chilling the dough?
It is strongly recommended not to skip it. Because the butter is melted and warmed during the browning process, chilling firms the fats back up so your cookies retain a thick, chewy texture instead of spreading flat.
Why is there an extra egg yolk in this recipe?
Adding an extra egg yolk boosts the ratio of fat to water in the dough, which yields a much chewier, fudgier center in the finished cookie.
Special Tools
Affiliate linksThe equipment that makes this recipe easier. Optional, but it helps.
As an Amazon Associate we earn from qualifying purchases. Links below are affiliate links, at no extra cost to you.