

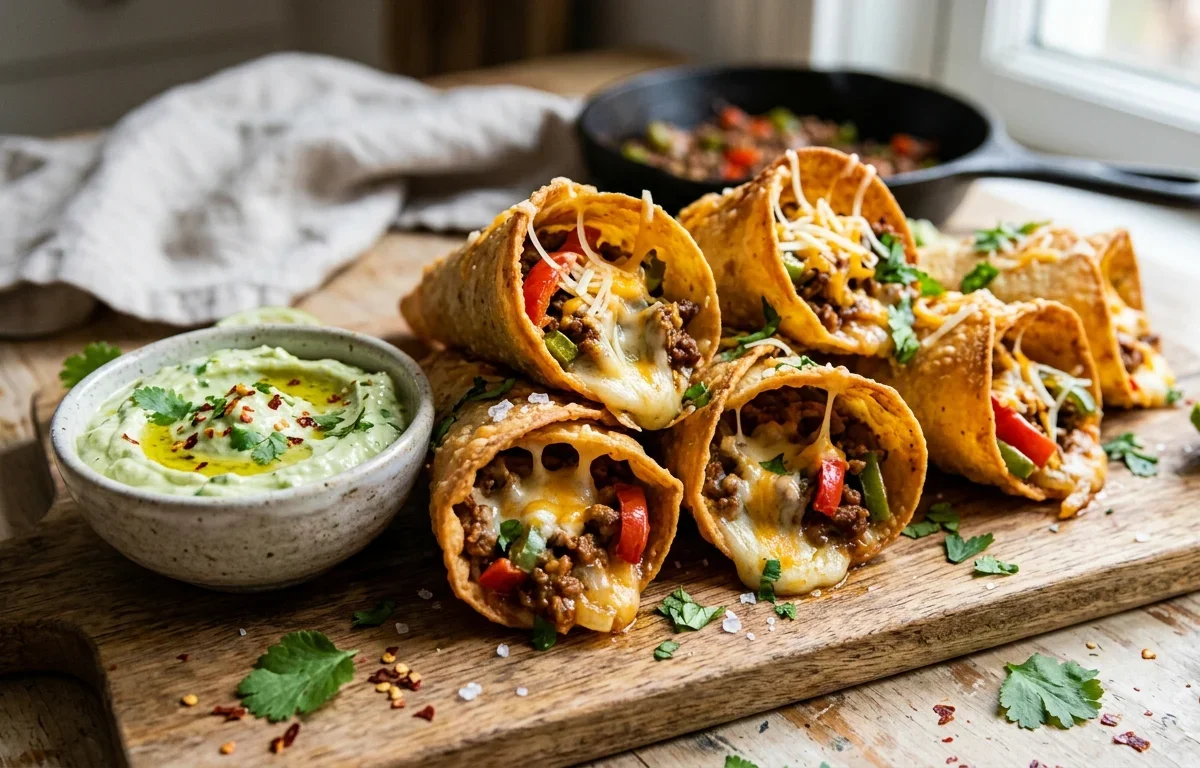
If you are looking for a fun, hands-on appetizer that gets everyone excited, these crispy beef and cheese tortilla cones are the ultimate crowd-pleaser. Flour tortillas are cut, rolled into handy cones, stuffed with a perfectly spiced beef mixture and gooey cheese, then pan-fried until golden and incredibly crunchy. Served with a cool, vibrant avocado-lime dip, they are a guaranteed hit for game day, parties, or a fun family dinner.
Why You'll Love This Recipe
- Shatteringly Crunchy Shell: Pan-frying the flour tortillas transforms them into beautifully crisp, golden cones that hold up perfectly to dipping.
- Clever Soggy-Proofing: Lining the cone with a slice of cheese first melts into a protective barrier, keeping the tortilla crunchy and securing the flavorful beef inside.
- Perfect Flavor Contrast: The warmth of the spiced beef and melted cheese is beautifully balanced by the bright, tangy, and cool avocado dip.
- A Fun, Interactive Project: Rolling and stuffing these handheld cones is incredibly satisfying and easier than it looks, making it a great recipe to cook with family.
Ingredients You'll Need (and Why)
Tomato Paste: A single tablespoon of tomato paste adds a concentrated, umami-rich depth that binds the spices directly to the meat, ensuring the beef filling is flavorful and saucy without becoming runny or making the tortillas soggy.
Flour Tortillas: Flour tortillas are essential for this recipe because they are highly pliable, allowing you to easily roll them into tight cones without ripping, and they fry up to a perfect pastry-like crunch.
Cheese Slices: Placing a whole slice of cheese inside the cone before adding the beef acts as a protective shield. As it melts, it locks the filling in place and prevents any juices from softening the tortilla shell.
Greek Yogurt or Sour Cream: This provides a creamy, tangy base for your avocado dip, offering a refreshing contrast to the spicy beef while helping to keep the blended avocado looking bright and fresh.
How to Make It
Sauté the Beef Filling
We start by building a deeply flavorful, savory filling. Sautéing the finely diced onions and peppers first softens their texture and coaxes out their natural sweetness. When you add the ground beef and spices, the tomato paste acts as a binder, coating the beef so that every bite is rich, savory, and perfectly spiced without being runny.
Whip Up the Avocado Dip
While your beef cools, blend up the cooling avocado dip. Mixing ripe avocado with tangy Greek yogurt or sour cream and fresh lime juice creates a luxurious, velvety sauce. The acidity of the lime juice is key—it brightens up the rich avocado and keeps it from browning, creating a beautiful contrast to the warm, crispy cones.
Assemble and Shape
Transforming the tortillas is simpler than it looks! Cutting the tortillas in half gives you the perfect shape to roll. By placing a slice of mozzarella or cheddar inside the cone before adding the warm beef, you create a delicious shield that prevents the beef's moisture from making the tortilla soggy, ensuring a perfect crunch.
Pan-Fry to Crispy Perfection
A shallow pan-fry brings it all together. Starting the cones seam-side down in the medium-heated oil seals the tortilla shape immediately so you can remove any toothpicks safely. Gently turning the cones ensures every angle turns into a shattered-crisp, golden-brown shell encasing a gooey, melted cheese core.
Success Tips
- Seal the Seams First: Placing the cones seam-side down in the hot oil cooks and seals the tortilla flap instantly, keeping your filling secure without needing toothpicks during the rest of the cooking.
- Don't Overfill: It is tempting to pack the cones to the brim, but leaving a small space at the top ensures the melting mozzarella stays inside the cone rather than spilling out and burning in the pan.
- Control the Heat: Keep your skillet at a steady medium heat. If the pan is too hot, the tortillas will burn before the cheese inside has a chance to melt completely.
- The Cheese Shield Technique: Always place the sliced cheese in the cone before the beef. It melts against the tortilla walls, creating a barrier that locks in the meat juices and keeps the shell incredibly crispy.
Variations
- Spicy Jalapeño Kick: Finely dice half a fresh jalapeño and sauté it alongside the onions and bell peppers for a spicy beef filling.
- Extra-Cheesy Upgrade: Use a combination of half mozzarella and half sharp cheddar inside the cones for a perfect balance of flavor and an epic cheese pull.
Storage & Make-Ahead
Fridge: Store any leftover filled cones or extra beef filling in an airtight container in the refrigerator for up to 3 days. Reheat in an oven or air fryer at 350°F (175°C) for 5-8 minutes to restore the crispiness.
Freezer: You can freeze the cooked beef filling separately in a freezer-safe bag for up to 3 months. Thaw overnight in the fridge before assembling and frying fresh cones.
FAQ
Can I bake these instead of frying them?
Yes! Brush the assembled cones generously with olive oil or spray them with cooking spray. Bake at 400°F (200°C) for 10-12 minutes, turning halfway through, until golden and crispy.
How do I keep the tortilla cones from unrolling?
You can secure the outer edge of the rolled tortilla cone with a toothpick before frying. Once you place them seam-side down in the hot pan, the tortilla will quickly crisp and hold its shape, allowing you to carefully slide the toothpick out.
Can I make these ahead of time?
You can prepare the spiced beef filling and the avocado dip up to a day in advance. For the best crunchy texture, assemble and fry the cones just before serving so they don't get soggy.