
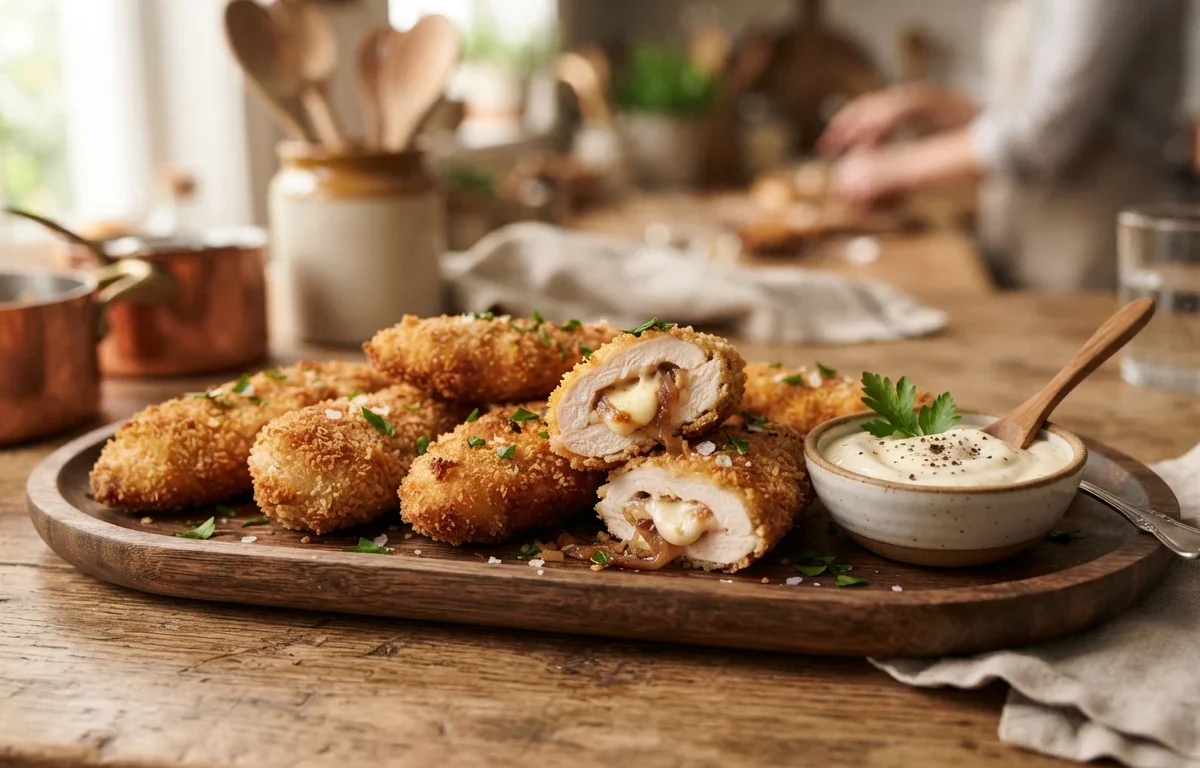
If you love traditional chicken tenders, wait until you try them stuffed with sweet caramelized onions and gooey melted cheese. This recipe takes simple boneless chicken breasts and turns them into an impressive, restaurant-quality meal right in your own kitchen. Don't worry if you've never stuffed chicken before; we will walk through the pocket-cutting and securing process step by step.
Why You'll Love This Recipe
- Combines sweet, savory caramelized onions with gooey melted cheese inside a single crispy bite.
- Uses familiar chicken breasts to create an unexpected, gourmet presentation.
- Can be easily adapted for either a crispy pan-fried finish or a lighter baked alternative.
- Features a reliable triple-dip breading station that locks the juicy meat and filling inside.
Ingredients You'll Need (and Why)
Yellow Onions: Cooking these slowly over medium-low heat breaks down their natural sugars, turning them soft, sweet, and deeply savory.
Balsamic Vinegar: Adding a splash at the end of caramelizing cuts through the rich sweetness of the onions with a touch of balanced acidity.
Mozzarella or Gruyère Cheese: Both cheeses melt beautifully, creating an ultra-gooey pull when you bite into the chicken pocket.
Panko Breadcrumbs: Panko flakes are lighter and crunchier than standard breadcrumbs, giving you that golden, shatteringly crisp exterior.
How to Make It
Make the Caramelized Onions
Patience is your best tool here. Cooking onions low and slow draws out their natural juices and caramelizes their sugars without burning them. Allowing them to cool completely before stuffing prevents the hot onions from melting your cheese prematurely.
Prepare and Stuff the Chicken Pockets
When slicing your chicken breasts, use a sharp knife and place your free hand flat on top of the breast to keep it steady. Cut a wide, deep pocket inside without breaking through the back or sides. Securing the opening tightly with toothpicks ensures your cheese stays locked inside where it belongs.
The Breading and Cooking Process
The classic flour-egg-panko dredge creates an impenetrable moisture barrier that keeps the chicken juicy while delivering maximum crunch. Whether you choose to pan-fry for traditional richness or bake on a wire rack for convenience, watch your internal temperature to ensure the meat hits 74°C.
Success Tips
- Pat your chicken breasts thoroughly dry with paper towels before seasoning so the spices and flour stick properly.
- Do not skip the toothpicks! They are essential for keeping the cheese and onions safely enclosed inside the meat while cooking.
- Keep your oil at a steady medium heat during pan-frying so the panko crust turns golden brown before the chicken overcooks or burns.
- Always double-check your cooking progress with a meat thermometer to ensure the internal temperature reaches 74°C.
Storage & Make-Ahead
Fridge: Store leftover cooked chicken fingers in an airtight container in the refrigerator for up to 3 days. Reheat in a 190°C oven or toaster oven to restore crispness.
FAQ
Can I prep these chicken fingers ahead of time?
Yes! You can caramelize the onions and even stuff and bread the chicken a few hours in advance. Keep the prepped, un-cooked chicken covered in the refrigerator until you are ready to fry or bake.
Do I have to use toothpicks?
Toothpicks are strongly recommended to secure the pocket opening and prevent the melting cheese and onions from escaping into your pan or baking sheet.
Can I bake these instead of frying?
Absolutely. Place your breaded chicken fingers on a wire rack over a baking sheet, spray them lightly with oil, and bake at 200°C for 20–25 minutes.