

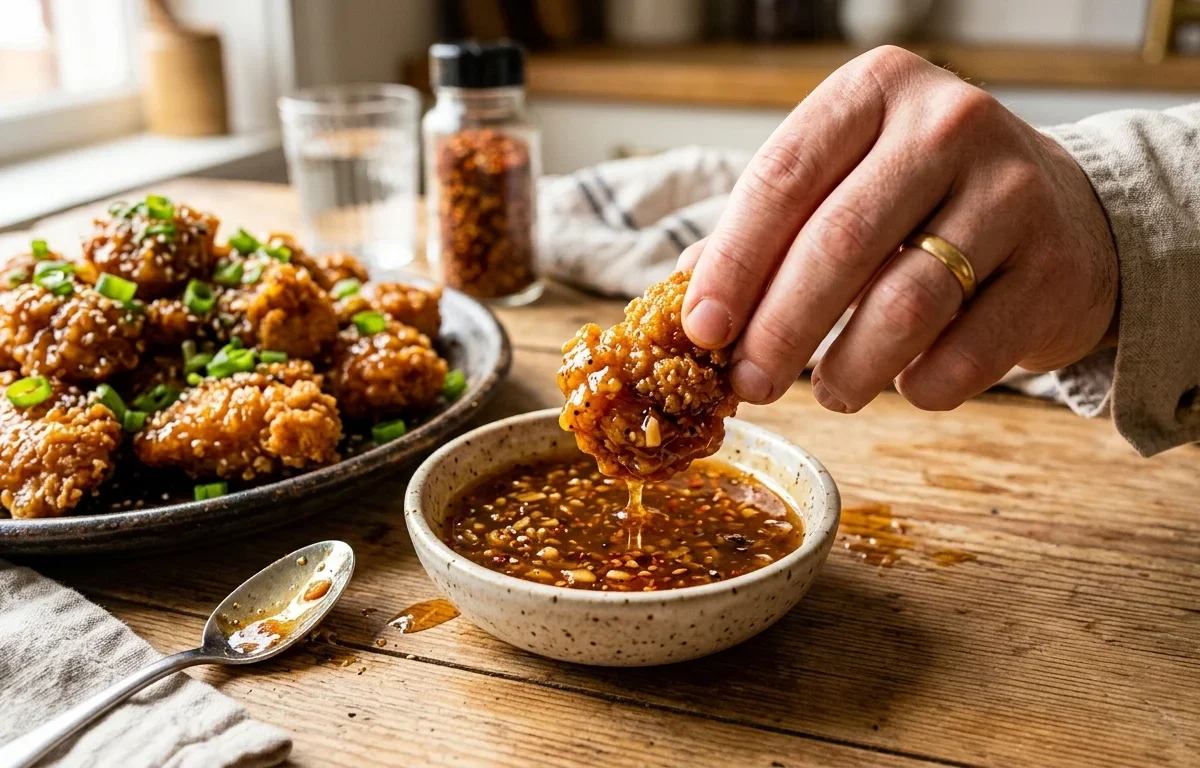
If you love crispy chicken bites, having a glossy, sweet, and savory sauce for dunking makes all the difference. This honey garlic sauce comes together in just ten minutes using basic pantry ingredients you likely already have. It simmers down into a rich, clingy glaze that coats every single bite perfectly without soaking into your crisp breading.
Why You'll Love This Recipe
- Coats chicken completely without making crispy breading soggy
- Balanced sweet and tangy flavor profile with real garlic bite
- Takes under 10 minutes on the stovetop with zero complex steps
- Stores well in the fridge for easy meal prep dunking all week
Ingredients You'll Need (and Why)
raw honey: Provides natural sweetness and the thick base that helps the sauce cling to fried or air-fried chicken bites.
reduced-sodium soy sauce: Adds umami depth while keeping the saltiness balanced so the honey flavor isn't overpowered.
fresh garlic: Minced fresh garlic cooks briefly in the liquid to release aromatic oils without turning bitter.
apple cider vinegar: Cuts through the heavy sweetness of the honey with essential acidity, making the sauce bright and craveable.
cornstarch slurry: Mixing cornstarch into cold water before adding ensures the sauce thickens smoothly without forming rubbery lumps.
How to Make It
Infuse the Sweet and Savory Liquids
Start by combining your honey, soy sauce, garlic, and acidity in a cool pot before applying heat. Gentle warm-up allows the garlic to gently poach in the honey syrup rather than burn. Burning garlic creates an acrid, sharp taste that ruins delicate dipping sauces, so keep the flame at medium-low and stir as the honey warms into a pourable liquid.
Prepare and Integrate the Slurry
Cornstarch needs liquid below 120°F to dissolve cleanly before activation. Whisking cornstarch directly into hot sauce will create sticky gelatinized clumps that won't smooth out. By dissolving it in a tablespoon of cold water first and whisking that mixture into the simmering saucepan, the cornstarch granules disperse evenly before heating up and forming a crystal-clear thicken matrix.
Simmer to Activate and Cool
Once your slurry enters the hot liquid, bring it back to a gentle bubbling simmer. Starches need short exposure to direct heat (around 203°F) to fully bloom and eliminate any raw floury taste. Watch as the cloudy brown liquid turns glossy and deep amber within 60 to 90 seconds. Pull it off heat right away—over-boiling breaks down cornstarch starches, turning a thick sauce thin again.
Success Tips
- Use fresh minced garlic instead of garlic powder for a cleaner, bolder aromatic flavor.
- Never let the sauce boil rapidly on high heat, or the sugar in the honey will scorch and turn bitter.
- Check doneness with the back of a spoon: dip the spoon in, run your finger down the middle, and if the clear line holds, the sauce is perfectly thickened.
Variations
- Spicy Honey Garlic: Increase red pepper flakes to 1/2 teaspoon and add 1 teaspoon of sriracha or chili garlic paste.
- Smoky Garlic Dip: Add 1/4 teaspoon of smoked paprika or a dash of liquid smoke for a barbecue-style finish.
- Ginger Garlic Dip: Grate 1/2 teaspoon of fresh ginger into the pan along with the fresh minced garlic.
Storage & Make-Ahead
Fridge: Store leftovers in a sealed airtight jar or container in the refrigerator for up to 10 days. Reheat gently in the microwave for 10-15 seconds to restore dipping liquid flow.
Freezer: Freeze in a freezer-safe container for up to 3 months. Thaw overnight in the fridge and stir well while gently warming on the stove.
FAQ
Can I make this honey garlic sauce ahead of time?
Yes, this sauce keeps remarkably well in the fridge. Prepare it up to a week in advance and simply warm it slightly before serving your chicken bites.
Why is my honey garlic sauce too runny?
The sauce usually turns out runny if it wasn't brought up to a brief simmer after adding the cornstarch slurry, or if you didn't give it 5 minutes off the heat to cool down and thicken naturally.
Can I toss my chicken bites in this sauce instead of using it as a dip?
Absolutely! Pour the warm sauce directly over freshly cooked, hot chicken bites in a large stainless steel bowl and toss immediately to coat evenly.
