

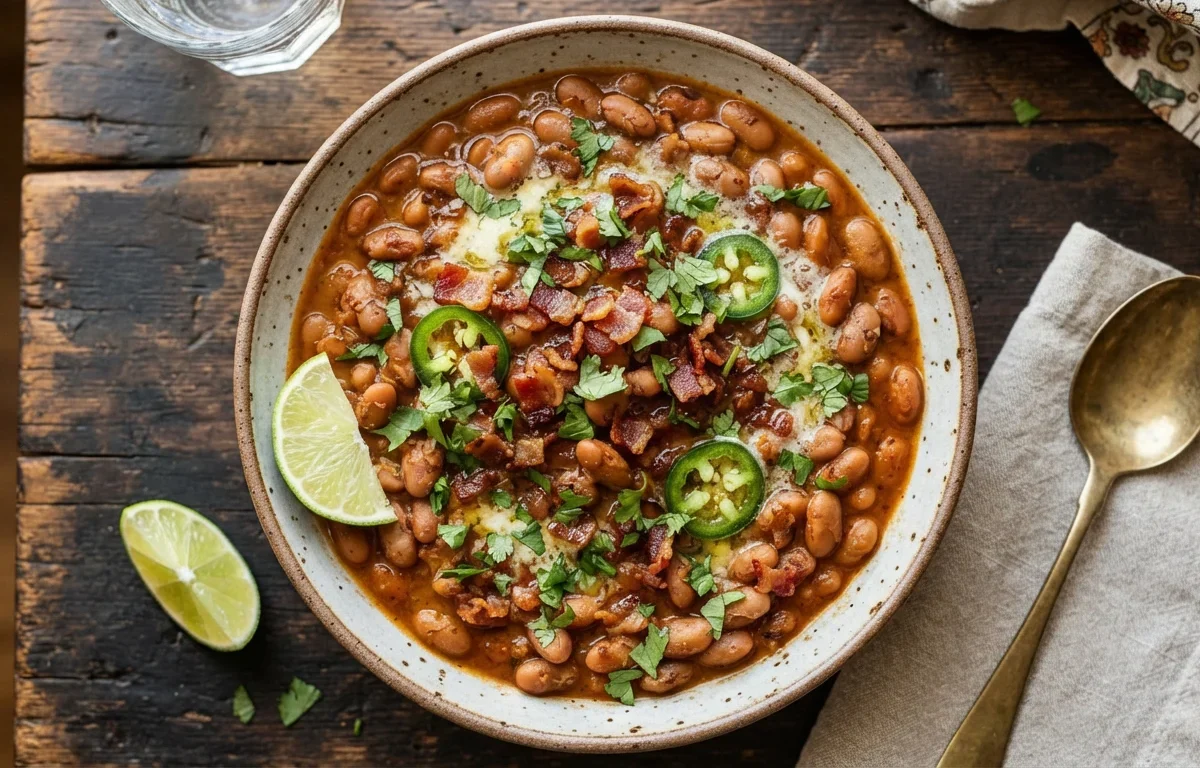
Transform ordinary canned pinto beans into an irresistible comfort-food side dish with just a few simple pantry staples. These Smoky Garlic Butter Pinto Beans feature a rich, creamy sauce infused with garlic, smoked paprika, and a bright squeeze of fresh lime juice. Whether you are serving them alongside fluffy rice, warm cornbread, or your favorite tacos, this quick recipe turns humble beans into the star of the meal.
Why You'll Love This Recipe
- Uses convenient canned pinto beans for a fast prep time without sacrificing deep, slow-simmered flavor.
- A portion of the beans are gently mashed in the pan to create a naturally thick and velvety sauce.
- Balances rich butter and savory bacon with bright fresh lime juice and cilantro to keep the flavors vibrant.
- Incredibly versatile as a side dish for grilled meats, tacos, rice, or served straight out of a bowl with warm cornbread.
- Budget-friendly and made with everyday ingredients you likely already have in your kitchen.
Ingredients You'll Need (and Why)
Smoked Paprika: Provides the signature campfire flavor profile without needing to grill or smoke the beans yourself.
Tomato Paste: Adds concentrated umami depth and helps build a rich, savory base for the sauce when bloomed in the oil and spices.
Butter and Olive Oil: Combining oil and butter gives you the high heat tolerance of oil alongside the rich, creamy flavor of real butter.
Fresh Lime Juice: A splash of acid at the very end cuts through the rich butter and savory spices, waking up all the flavors in the pan.
How to Make It
Building the Aromatics and Spices
Starting with a base of butter and olive oil allows you to gently sweat the onions and jalapeños without burning. Toasting the minced garlic and ground spices directly in the fat for under a minute unlocks their fat-soluble flavor compounds, creating a much deeper taste than simply boiling them in broth.
Creating the Rich Sauce
Cooking the tomato paste for a minute before adding the liquid removes its raw canned taste and deepens its savory notes. When you pour in the beans and broth and let them simmer, the starches from the beans mingle with the seasoned broth to start building a cohesive sauce.
Achieving the Creamy Texture
Mashing roughly a third of the pinto beans directly against the side of the pan releases their natural starches into the liquid. This transforms the watery broth into a velvety, thick sauce that coats every whole bean, giving you the best of both creamy refried beans and tender whole bean textures.
Success Tips
- Watch the garlic closely when toasting the spices; it only takes 30 to 45 seconds for minced garlic to go from fragrant to burnt.
- Keep the heat at a gentle simmer once the beans and broth are added so the liquid reduces nicely without sticking to the bottom of the pan.
- Taste the beans right before serving and adjust the salt level, as canned beans and broths can vary widely in their initial sodium content.
Variations
- Swap out the chicken broth for vegetable broth to keep the entire dish strictly vegetarian.
- Omit the bacon bits and use extra virgin olive oil instead of butter if you want a dairy-free and vegan preparation.
Storage & Make-Ahead
Fridge: Store leftover pinto beans in an airtight container in the refrigerator for up to 4 days. Reheat gently on the stovetop with a splash of water or broth to loosen up the sauce.
Freezer: Freeze in a freezer-safe container for up to 2 months. Thaw overnight in the refrigerator before reheating on the stove.
FAQ
Can I use dry pinto beans instead of canned?
This recipe is specifically designed for canned beans to keep prep quick and easy. If you want to use dry beans, you will need to cook and soften them fully ahead of time before starting this recipe.
How do I make this recipe vegan?
Simply use vegetable broth instead of chicken broth, substitute the butter with olive oil or a plant-based butter alternative, and omit the optional bacon bits.
What should I serve these pinto beans with?
They make an incredible side dish for tacos, grilled chicken, roasted vegetables, or served simply in a bowl alongside warm, buttery cornbread or fluffy white rice.
