
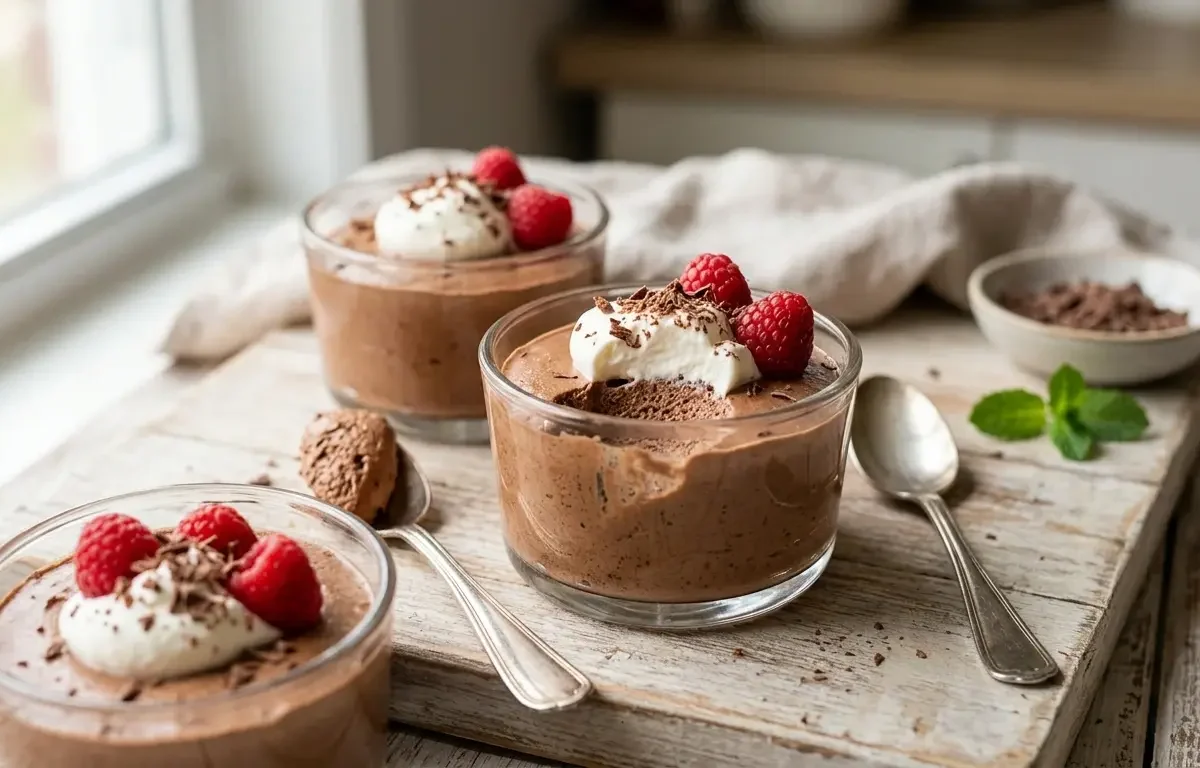
If you have ever been intimidated by classic French mousse recipes that require separating eggs and cooking custard, this streamlined version is about to change your dessert game. With just three basic pantry staples, you can create a restaurant-quality dessert that is extraordinarily rich, velvety, and light. It takes only 15 minutes of active effort before setting into pure chocolate luxury.
Why You'll Love This Recipe
- Requires zero raw eggs, making it food-safe and completely worry-free for everyone.
- Uses a standard warm cream emulsion technique that prevents the chocolate from seizing.
- Achieves a lush, airy texture without any gelatin or artificial thickeners.
- Can be prepared up to two days ahead, making it ideal for stress-free dinner parties.
Ingredients You'll Need (and Why)
Bittersweet Chocolate (60-70% Cacao): Chocolate provides both the primary flavor and structural set. High-quality bar chocolate melts smoothly, whereas chocolate chips contain stabilizers that prevent a silky texture.
Heavy Whipping Cream: The high butterfat content (at least 36%) traps air when whipped, delivering the volume and cloud-like lightness essential for a true mousse.
Powdered Sugar: Dissolves instantly into cold heavy cream without leaving a grainy texture, balancing the dark cocoa intensity perfectly.
How to Make It
Creating the Ganache Base
The foundation of this mousse is a velvety smooth chocolate ganache. By pouring scalded heavy cream over finely chopped chocolate, the heat gently melts the cocoa butter without scorching it. Whisking slowly emulsifies the fat and liquid into a uniform, glossy base. It is critical to let this mixture cool until it is lukewarm to the touch; if added while hot, it will instantly melt the air bubbles in your whipped cream.
Whipping the Cream Structure
Because this recipe omits whipped egg whites, cold heavy cream provides all the airy lift and structure. Beating the cream traps air bubbles within a network of milk fat. Aim for medium peaks rather than stiff peaks—stiffly whipped cream will cause the final mousse to taste dense or buttery rather than light and meltingly soft on the tongue.
Folding for Maximum Volume
Combining the whipped cream and ganache requires a delicate touch. Starting with a sacrificial 'lightening' step—folding just a third of the cream into the chocolate—loosens the heavy base so the rest blends seamlessly. Use a gentle sweeping motion cut through the center and around the bowl, keeping as much trapped air intact as possible.
Success Tips
- Cool the ganache base to roughly 70°F (21°C) before folding. If it feels warm to your wrist, wait a few more minutes.
- Avoid over-whipping your cream; over-whipped cream breaks down easily and gives mousse a grainy, greasy mouthfeel.
- If your chocolate seizes or looks grainy while melting, whisk in 1 tablespoon of hot cream vigorously to restore the emulsion.
Variations
- Espresso Chocolate Mousse: Dissolve 1/2 teaspoon of instant espresso powder in the hot cream before pouring it over the chocolate to intensify the cacao depth.
- Orange-Infused Mousse: Add 1/2 teaspoon of finely grated fresh orange zest into the warm ganache mixture.
- Mint Chocolate Mousse: Add 1/4 teaspoon of pure peppermint extract to the heavy cream before whipping.
Storage & Make-Ahead
Fridge: Cover closely with plastic wrap and chill for up to 4 days. Serve straight from the fridge.
Freezer: Freeze individual portions in airtight containers for up to 1 month. Thaw in the refrigerator overnight before serving.
FAQ
Can I use chocolate chips instead of bar chocolate?
While chocolate chips will melt, they contain anti-caking agents and lower cocoa butter content, which yields a firmer, slightly grainy texture. Chopped high-quality baking bars yield significantly smoother results.
Why did my chocolate mousse turn out grainy?
Graininess happens either when the ganache was too hot when mixed with the whipped cream, or because the cream was over-whipped past soft/medium peaks into stiff butter territory.
How far in advance can I make this mousse?
You can prepare this recipe up to 48 hours ahead of time. Keep it refrigerated and tightly covered with plastic wrap until ready to garnish and serve.