

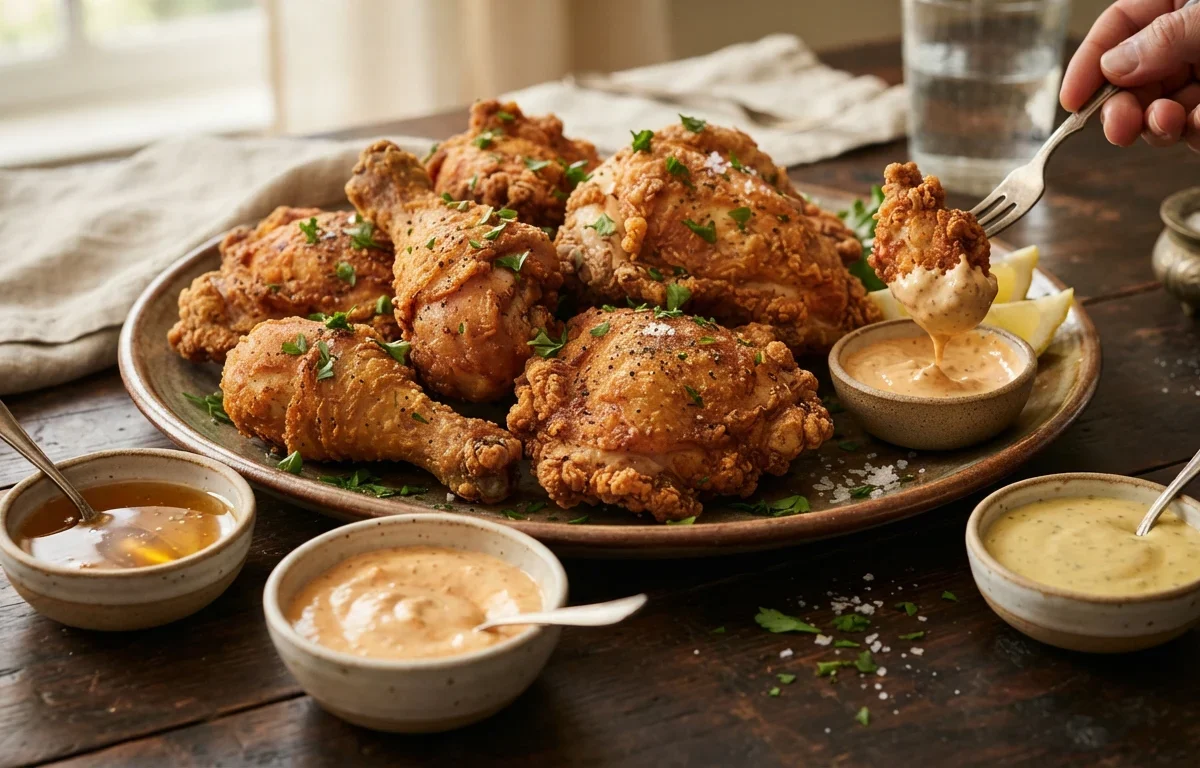
There is nothing quite like biting into a piece of truly crispy, golden Southern fried chicken, especially when you have three completely different homemade dipping sauces to choose from. This recipe walks you through the exact steps to get that signature extra-crunchy crust without burning the outside before the meat cooks through. Don't worry if you are new to frying chicken at home; taking it step by step guarantees restaurant-quality results right in your own kitchen.
Why You'll Love This Recipe
- Features a double-dip coating technique that creates an exceptionally crunchy crust.
- Includes recipes for three distinct, flavorful sauces: honey butter garlic, spicy creamy garlic, and creamy Dijon.
- Uses a wire rack instead of paper towels so the bottom of the chicken stays just as crispy as the top.
- Pairs classic Southern comfort food flavors with fun, interactive dipping options for family dinners or parties.
Ingredients You'll Need (and Why)
Buttermilk: The acid in buttermilk tenderizes the chicken meat by gently breaking down proteins, resulting in juicier bites.
Cornstarch: Adding cornstarch to the flour mixture lowers the temperature at which the crust browns and crisps up, giving you a lighter, crunchier exterior.
Smoked paprika: Provides a subtle campfire-like smokiness that deepens the savory flavor profile of both the crust and the spicy sauce.
Dijon mustard: Brings a sharp, clean tang that cuts through the rich, creamy base of the Dijon sauce to balance out the plate.
How to Make It
The Marinade and Tenderizing Stage
Giving the chicken time to rest in the spiced buttermilk bath does double duty. It infuses flavor right into the meat while using acidity to break down tough fibers so every bite stays tender.
The Double-Coat Crunch Technique
Creating a truly shatter-crisp crust relies on the double-dredge method. Dipping the chicken back into the buttermilk after the first flour coating builds up a thicker, deeply textured layer that locks in all the natural juices.
Frying and Draining for Maximum Crispiness
Maintaining a steady oil temperature prevents the breading from absorbing too much grease. Once fried, transferring the chicken to a wire rack instead of paper towels allows air to circulate underneath, stopping steam from softening your hard-earned crust.
Success Tips
- Let the coated chicken rest for a few minutes on a rack before frying so the flour has time to hydrate and stick to the meat.
- Do not crowd the skillet when frying; overcrowding drops the oil temperature and ruins the crispiness.
- Always check the internal temperature of the thickest piece of chicken with a meat thermometer to ensure it hits 165°F (74°C).
Storage & Make-Ahead
Fridge: Store leftover fried chicken in an airtight container in the refrigerator for up to 3 days. Reheat in a 350°F oven until warmed through and crisp.
FAQ
Can I use chicken breasts instead of thighs or tenders?
Yes, you can use chicken breasts, but cut them into even-sized pieces or tenders so they cook through in the same amount of time without drying out.
Why use a wire rack instead of paper towels?
Paper towels trap steam underneath the hot chicken, which makes the bottom crust soggy. A wire rack allows air circulation on all sides to keep the crunch intact.
How do I keep the oil at the right temperature?
Use a deep-fry or candy thermometer clipped to the side of your Dutch oven, and adjust your burner flame up or down as needed between batches.
