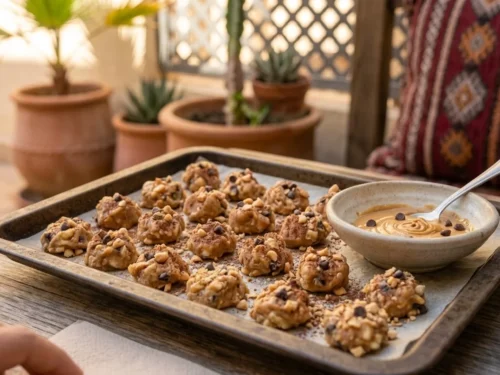


If you have ever baked sweet potato rounds expecting a satisfying crunch only to end up with limp, soggy slices, you are not alone. Getting sweet potatoes to crisp in the oven requires just a couple simple food science tricks rather than high-end equipment. This quick recipe walks you through exact slicing thickness, starch coating, and baking heat so you get golden, crunchy edges straight from your oven every single time.
Why You'll Love This Recipe
- Delivers genuine crunch on the outside while staying light and tender inside without deep frying.
- Requires only 10 minutes of hands-on prep using simple pantry spices.
- Naturally gluten-free, dairy-free, and plant-based to accommodate almost any dietary preference.
- Pairs effortlessly with garlic aioli, spicy mayo, or Greek yogurt dip.
Ingredients You'll Need (and Why)
Cornstarch: Coating raw sweet potato slices in cornstarch absorbs moisture on the exterior, creating a paper-thin barrier that crisps up under direct oven heat.
Avocado Oil: Has a high smoke point that handles high oven temperatures without burning, helping heat transfer evenly across every slice.
Smoked Paprika: Provides a warm, subtle smokiness that balances the natural sweetness of the potatoes.
Garlic Powder: Delivers savory depth without the risk of scorching that comes with minced fresh garlic.
How to Make It
Slice & Dry Thoroughly
Consistency is critical when cutting sweet potatoes. Aim for uniform 1/8-inch rounds so every piece bakes at the same speed. After slicing, pat each piece dry with paper towels; removing excess surface water stops steam from building up under the oil.
The Cornstarch Dusting
Before adding any liquid or seasonings, coat the dry slices with cornstarch. Toss them well until the potato surface turns matte. This dry barrier holds back moisture from inside the potato while encouraging a light, crispy outer crust.
Arrange & High-Heat Bake
Space the slices out on your baking sheet with breathing room between each round. Baking at 425°F encourages fast evaporation and crisping. Flipping halfway through ensures both sides brown evenly without trapping steam underneath.
Success Tips
- Use a mandoline slicer to guarantee uniform thickness across every single round.
- Dry each slice aggressively before coating—moisture on the raw surface is the main cause of soggy chips.
- Give each slice at least a quarter-inch of space on the tray to allow steam to escape.
- Let the cooked slices rest on the warm baking sheet for 5 minutes after pulling them from the oven so the outer crust finishes crisping.
Variations
- Sweet Cinnamon: Omit garlic powder and paprika; replace with 1/2 tsp cinnamon and 1 tbsp maple sugar for a dessert snack.
- Spiced Chili Lime: Add 1/2 tsp chili powder and 1/4 tsp cayenne pepper, then squeeze fresh lime juice over top right after baking.
- Parmesan Herb: Toss baked hot slices immediately with 2 tablespoons freshly grated Parmesan cheese and chopped rosemary.
Storage & Make-Ahead
Fridge: Store cooled leftovers in an airtight container for up to 4 days. Re-crisp in a 400°F oven or air fryer for 3-4 minutes.
Freezer: Freeze baked slices on a single tray until solid, then transfer to a freezer-safe bag for up to 2 months. Reheat directly from frozen at 400°F.
FAQ
Why are my sweet potato slices soft instead of crispy?
Soft slices usually happen when the potatoes aren't dried thoroughly before coating, or when the baking tray is overcrowded, causing the slices to steam each other.
Can I make these crispy sweet potato slices in an air fryer?
Yes! Cook them in a single layer at 380°F (190°C) for 10-12 minutes, shaking or flipping the basket halfway through.
Should I peel the sweet potatoes first?
Peeling is completely optional. Scrubbing the skin clean leaves extra fiber and creates a nice rustic crunch along the edges.